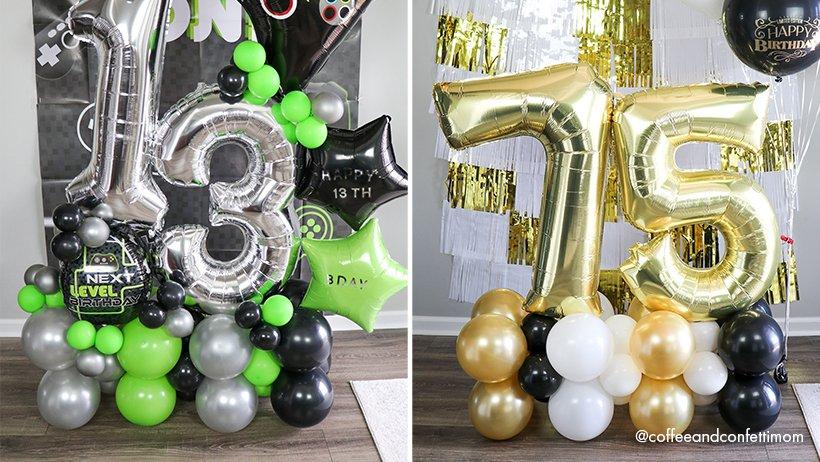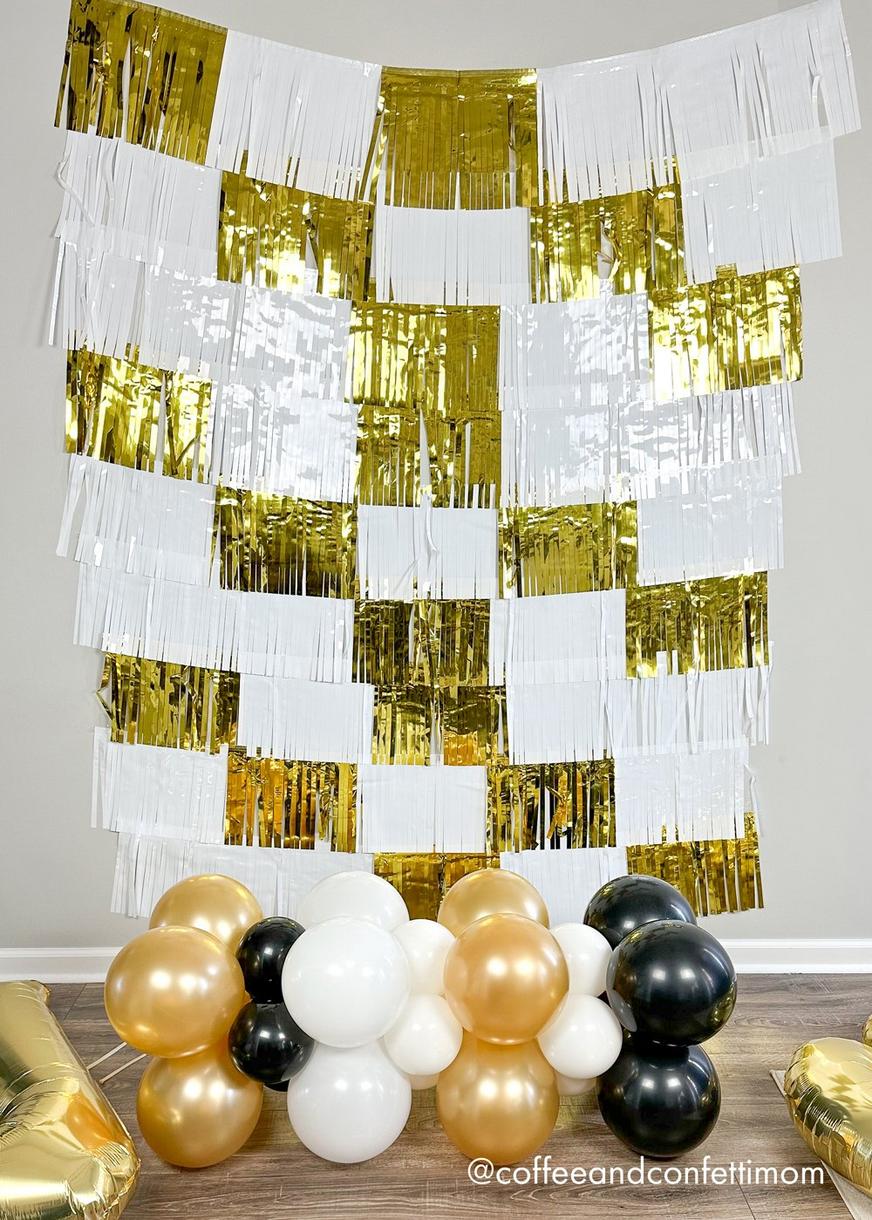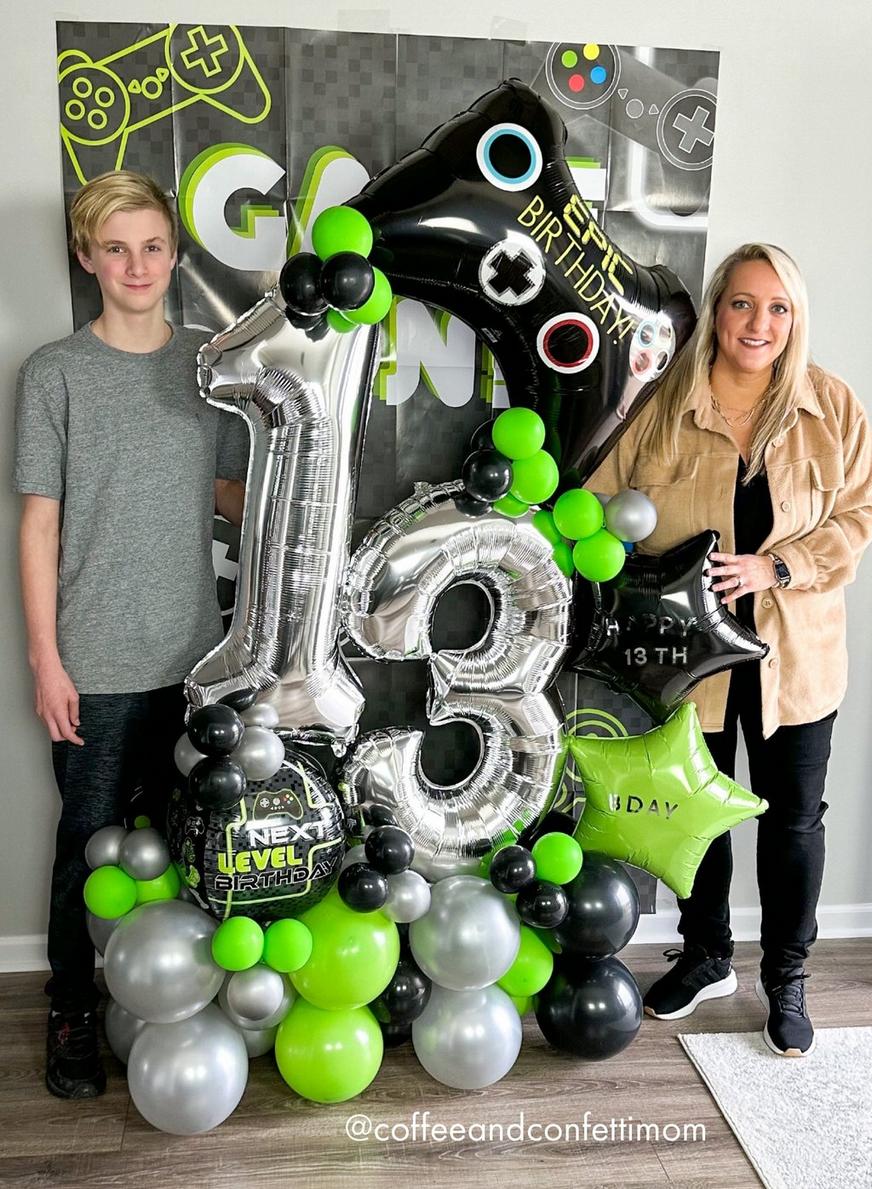
Go big for their big day! Balloon bouquets are a great way to show a friend, family member or co-worker you think they’re the best. But how do you make it extra personalized for that special someone? Celebrate their age, milestone, anniversary, or memorable year by adding a beautiful number balloon bouquet. It’s a special way to shout out the guest of honor. These free-standing bouquets make a huge statement and are an easy way to add something special to your perfect party décor, whether you’re celebrating inside or outside.
Number balloon bouquets are easy to customize, and you can accessorize with words or phrases like their favorite saying, the reason you’re celebrating, or by adding popular balloon accessories like their favorite character.
The possibilities are endless when making a number balloon bouquet as a show-stopping addition to your celebrations. And here’s an extra perk: since no helium is needed, you can make your number balloon bouquets the day before your event to save time and make day-of party prep even easier.
Follow these super-easy steps to create your own gorgeous number balloon bouquet.
Number Balloon Bouquet
Assembly Time: Est. 30 minutes
What You’ll Need:

Special number balloons in any size or color.
16 x 12-inch balloons in the color of your choice. (Tip: Use two or more colors to make your number balloon bouquet look even better. You’ll be working in pairs so choose an even number of each color balloon for an impressive, finished look.)
12 x 9-inch balloons in the color of your choice. (Again, using two or more colors will make your balloon bouquet look even better!).
5 x 260-style balloon in any color. (Hint: These are the long, skinny balloons you might use to create balloon animals. You’ll be using these to tie the balloons together, not inflating them.)
A special word or phrase balloon. For example, Happy Birthday, Congrats, or Celebrate. Looking for inspiration? Check out our huge selection of phrase balloons!
Balloon pump (optional). We love the Balloon Buddy Dual Electric Air Inflator. It’s not necessary, but it makes filling the balloons a lot quicker and easier.
Hot glue gun.
Step 1: Inflate all balloons
a) Start by inflating all of the 12-inch and 9-inch balloons. Avoid inflating to full capacity so that you have room to tie the ends of the balloons to each other. The inflated balloons should have an even round shape to them. The Balloon Buddy Dual Electric Air Inflator helps make this process a lot easier. It’s quick and easy to use and blows up two balloons at a time.
Tip: A balloon sizer can help to make sure your balloons are all the same size, giving them a clean, uniform look.
Step 2: Tie the balloons together to create four-leaf clovers

a) Using two balloons of the same size and color, tie the ends together. Do this with all the balloons so that you have pairs of balloons in similar size and color.
b) Next, twist the ends of two pairs of balloons together to form a four-leaf-clover shape. Repeat this with all balloon pairs. You should now have four sets of 12-inch balloons and three sets of 9-inch balloons.
Tip: If you chose two or more colors, you can create each four-leaf clover set in a different or alternating colors to make it as bright and bold, mismatched or coordinating as you like! (If your party has a color theme, pairing the balloon colors with your theme really makes the décor pop!)
Step 3: Tie the four-leaf clovers together to create your base.


a) Now that we’ve got your building block pieces ready, it is time to put them all together to build the base of your number balloon bouquet! Take one of the large four-leaf clover balloon sets (12-inch balloons) and add a smaller balloon set on top (9-inch balloons). Use a 260-style balloon to tie two sets together. These balloons are super stretchy and elastic. They make tying multiple balloons together a lot easier and help keep the entire structure securely in place. Use the uninflated 260 balloon like a string to tie it around your large and small sets in a figure-8 formation. Pull tightly on the 260 balloon as you weave it through the balloons.
Tip: Stretch the 260 balloon before using it as a string. This gives the balloon more length and makes it easier to handle.
a) Once your small set is secured to the large set, add another large set. Keep adding sets of balloons, one on top of the other, securing them in place using the 260 balloons until all the balloon sets are attached. Adjust the balloons to make sure they’re straight and stable.
Tip: Looking to create a bigger balloon bouquet base? Add more 12-inch and 9-inch balloons in multiples of four to extend the base until you get the desired size.
Step 4: Add your number balloons!

Now that you’ve built your base, it’s time to add in the number balloons to complete your number balloon bouquet!
a) Inflate your number balloons, if you haven’t already. Set your numbers on your base in the desired position. Then, tie them to the base using another 260 balloon. Use the same technique of wrapping the 260 balloon around your pieces in a figure-8 formation.
Tip: Want your number balloons to stay put? Use a hot glue gun to attach the tips of the numbers together.
Step 5: Complete your number balloon bouquet with special words, phrases, characters and accessories.


a) Inflate any other special balloons, like letters, phrases, or even singing balloons and affix them to your bouquet using the hot glue gun. You now have a magical masterpiece!
If you are making the balloon bouquet for an outdoor celebration, remember to add balloon weights to the base to make sure that your creation stays in place. You can use another 260-style balloon to keep it secure.
For more party décor & balloon inspiration, check out our Balloon Basics Guide.
