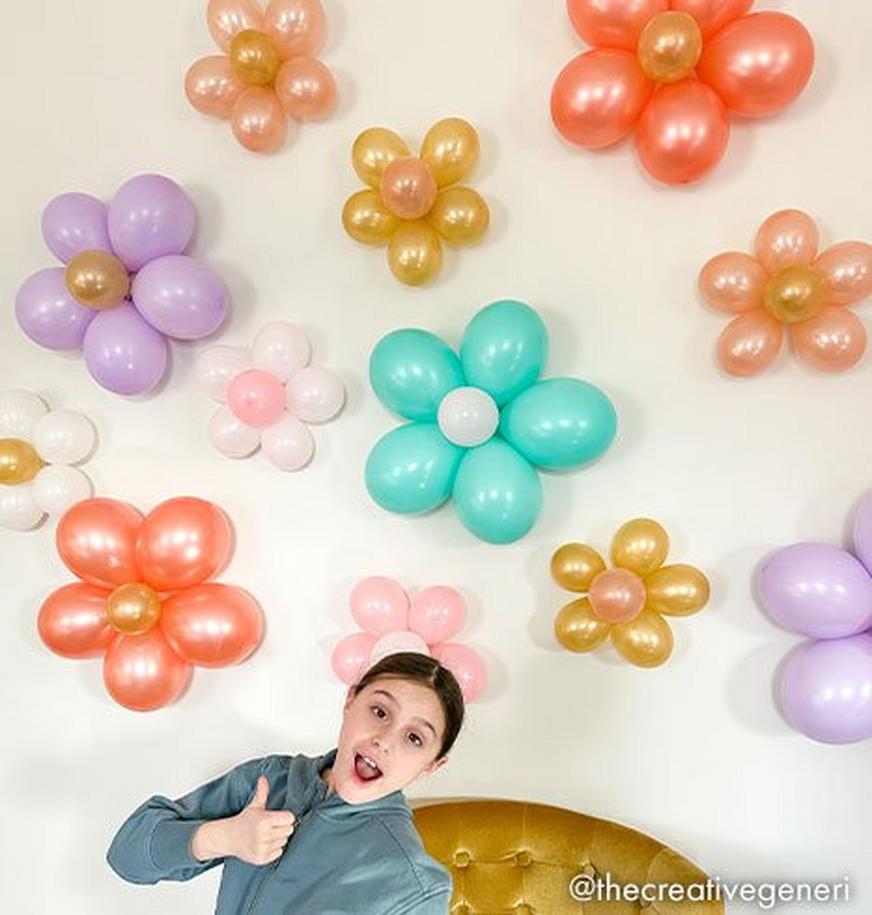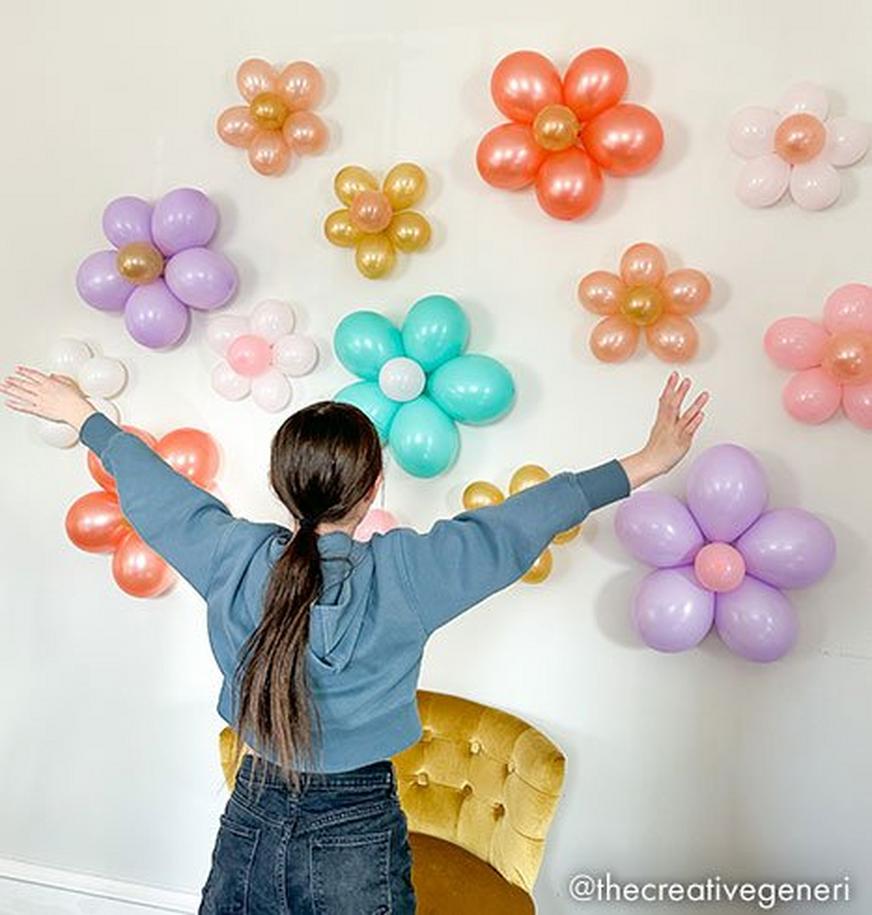
When Spring rolls around every year, it brings with it a slew of parties and events! And what better way to decorate for all your springtime occasions than by bringing in some of that colorful and vibrant spring goodness? This year, try sprucing up your decoration game by adding in DIY balloon flowers!
These fun little flowers are super easy to make and take no time at all. Once you make one, you’ll just want to make more! Build a wall of balloon flowers or create a balloon flower garland—the sky’s the limit! Want to give someone a non-conventional flower bouquet? Make some balloon flowers! Need to decorate your place for a birthday bash? Make some balloon flowers! Dreaming of a quirky photo op? You guessed it—balloon flowers!

There’s so much you can do by bringing together a handful of balloons, whether it's for a party celebration or inspired room décor. You can make any setting look brighter and happier by adding in some balloon flowers.
Here’s an easy step-by-step guide on how you can make your very own balloon flowers:
Balloon Flowers
Assembly Time: Est. 30 minutes
DIY Balloon Flowers are a fun arts and crafts project. They are easy to make and can be done by anyone and everyone. With the right materials in hand, you can get many flowers created in no time at all. Let’s get started.
What you’ll need:

5-inch balloons (requires a minimum of six balloons per flower and at least two color variations)
9-inch balloons (requires a minimum of six balloons per flower and at least two color variations)
Balloon flower clip (how many flowers do you want to make? That’s how many clips you’ll need!)
1 roll of adhesive balloon tabs
Air pump (optional)
Step 1: Inflate the balloons.

a) Start by filling your 5-inch balloons to make the smaller balloon flowers. Each flower will need six balloons, so multiply the number of flowers you want by six. That’s how many 5-inch balloons you’ll need. Make sure to tie a tight knot at the end of each balloon, so that it stays secure and no air escapes from it.
Tip: Instead of filling the balloons to their full capacity, try leaving some room at the end. This will make tying the knots a lot easier.
b) Now fill your 9-inch balloons to make the bigger flowers. These can be in a different color from the smaller ones—it all depends on your vision! Once again, you will need six balloons per balloon flower, so multiply by six and inflate away.
c) Make sure that you have at least two-color options for each size. Use one color to make the petals of the flower and the second color for the flower’s center.
d) You could inflate the balloons by blowing into them, but we would definitely recommend using a balloon pump as this will not only conserve your energy, but it will save you a lot of the time otherwise spent blowing up the balloons.
Tip: Inflating the balloons to the same size is important in order to have all the petals of the same length. Using a balloon sizer is extremely helpful when inflating the balloons, ensuring that they are all the same size. Remember, the more evenly sized the balloons are, the prettier the flowers will look.
Step 2: Attach the balloons to the balloon flower clip.
Each clip comes with six slots, five are for the petals of the flower, and the one at the center is for its core.
a) Start by sliding in the balloon that you want to use for the center of the flower. Since the slot is thin it will hold the balloon by the neck where the knot was made.
b) After sliding in the center balloon, start sliding the balloons into the five slots that are around it, forming the petals of the flower. Choose balloons of a different color from the center balloon.
c) If any balloon feels loose or slips out from the slot, you can easily tie a second, bigger knot at its end to keep the balloon in place.
d) Repeat the same process with all the other balloons. You can even try using a 5-inch balloon at the center and the 9-inch balloons as its petals for a striking look
Step 3: Adorn your wall with flowers.

a) Use a piece of wall adhesive tape at the back of each flower to attach them to the walls. Start by sticking one side to the back of the flowers, and the other side to a wall—or any spot that you want your gorgeous flowers.
And that’s it! Your super easy, pretty spring-themed décor is ready!
You can customize your balloon flowers in many ways! Try alternating the colors of the flowers or the petals themselves, have a variation in sizes, or even add some sparkle to make them extra special.
Balloon flowers are an easy yet fun art project that you can do along with your kids or other members of your family. Instead of using normal balloons for your next event, go for something different and surprise your loved ones with balloon flower décor.
Want to take your decoration game to the next level? You can use balloon flowers in a balloon garland! All you need is a balloon garland kit, and you can then easily insert the beautiful flowers as you build the garland. Check out How to Make DIY Balloon Garlands to learn more.
For more party décor inspiration check out our other DIY balloon how-to projects.
