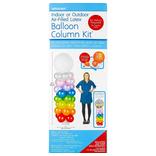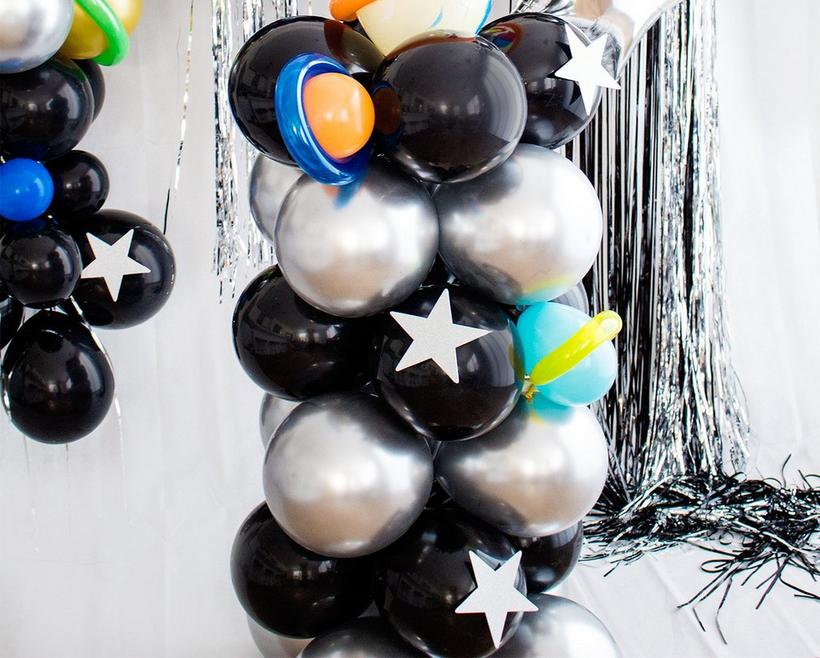
The balloon column (also known as a balloon tower or pillar) is an absolutely iconic party decoration. If you're new to decorating with balloons, a DIY balloon column can be a little intimidating but it’s easier than you might think.
For this tutorial we’re using a handy, reusable balloon column kit. It comes with a stand and balloon rings that will make it MUCH easier to create a balloon column that stacks up against the professionals. (If you want to learn how to make one without the kit, check out our spiral balloon column tutorial.) These columns take time, but they'll add a unique touch to your party without having to break the bank.
Browse all balloon supplies and choose balloon colors to fit your party theme (balloon columns can be customized to fit almost any occasion, from baby showers to graduations!) and a Super Shape or large latex balloon for the top. Ready to blow everyone away with your balloon column masterpiece?
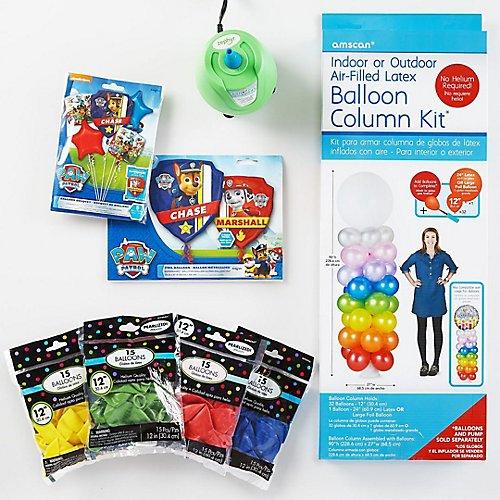
What you'll need:
Balloon Column Kit
Decorative balloon for the top (24” latex or Super Shape)
12” balloons in desired colors, 32 balloons total (plus extra for breakage)
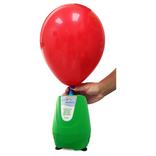
Electric balloon pump
Screwdriver for column stand assembly
Garden hose or faucet to fill weights
Step 1: Build the column structure
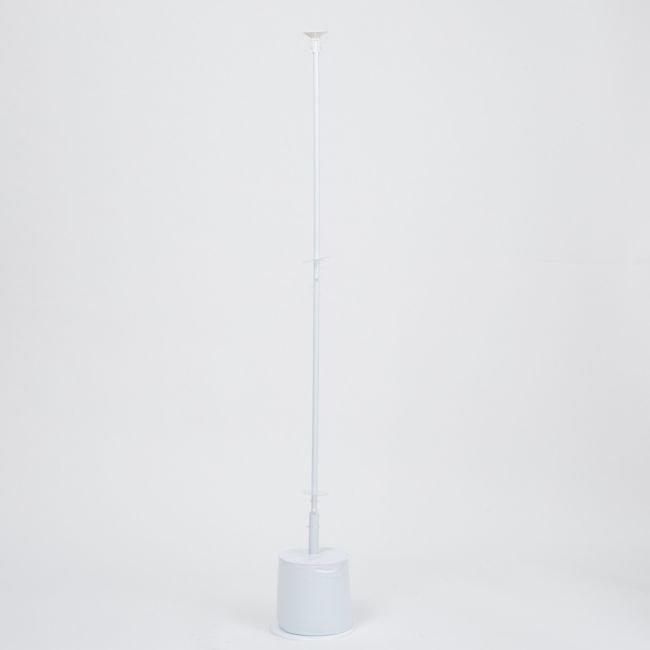
Assembling this structure is a bit tricky, but we highly recommend the time commitment. It can be reused for future parties and it takes the guesswork out of making a straight and sturdy column.
Fill the base of your balloon column stand with water, then follow package instructions to build your stand. Make sure you set aside at least 25 minutes and keep a screwdriver handy!
Step 2: Use an electric balloon pump
To inflate balloons with air quickly and easily, you’ll want to invest in an electric balloon pump. Otherwise, use a handheld balloon pump or get some help blowing them up the old fashioned way.
To get that professional look, you’ll want to make sure all of your balloons are a uniform size. You can create a DIY balloon sizer using poster board (measure the correct size using a compass and cut out the circle), or carefully compare each balloon to your first inflated balloon before you tie it off. This is a little time consuming, but it will make a big difference in your final result!
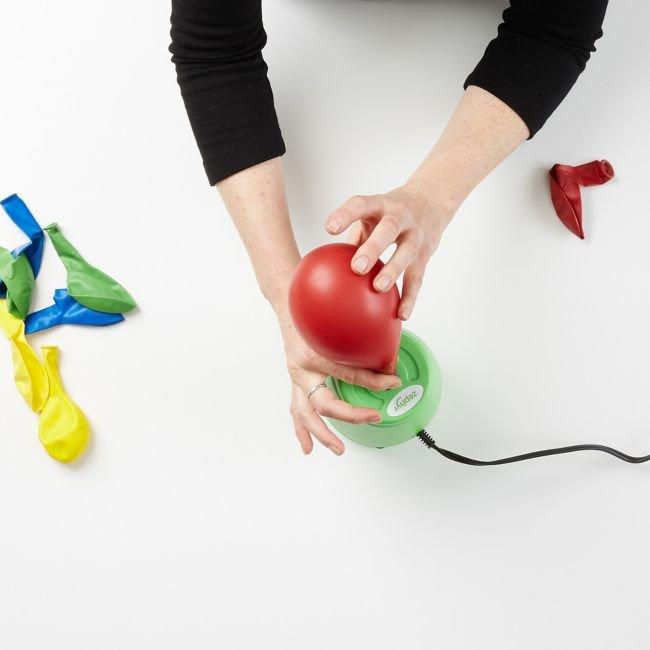
Step 3: Inflate all latex balloons
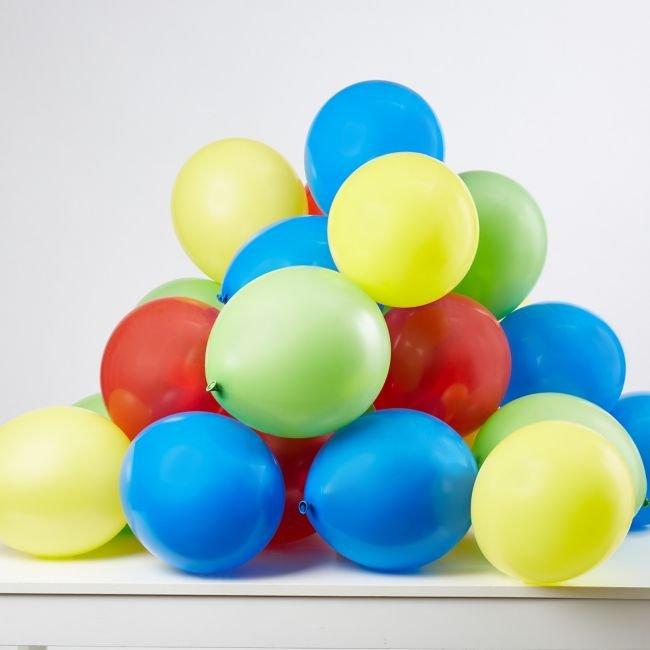
Save yourself time by filling all the balloons you’ll need before you start to build the column. For this example, we used eight of each color in yellow, green, red, and blue, but you can mix and match colors to suit your theme. You’ll need a total of 32 latex balloons to complete your column.
Step 4: Attach your first balloon
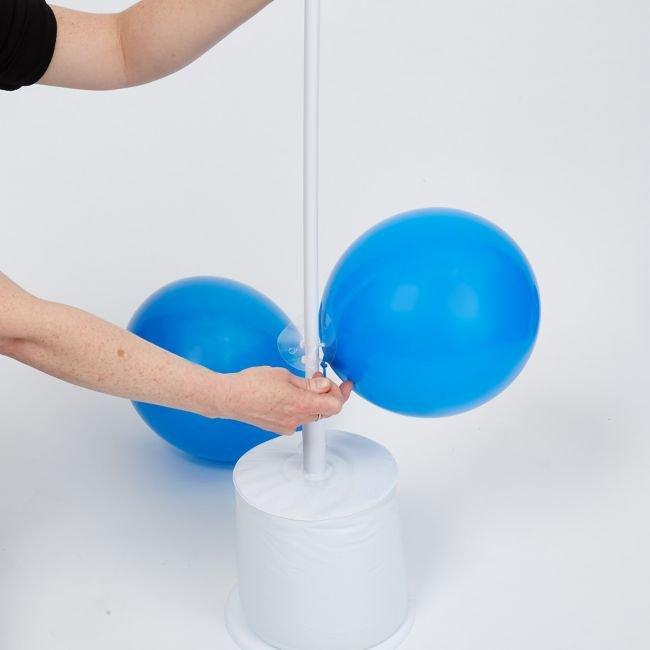
Find the clear plastic disc closest to the base of your column. Position your first balloon below the disc and slide the knot up through one of the punched holes. Make sure the knot makes it all the way through so the balloon stays snugly in place.
Step 5: Finish your first layer
Continue adding balloons by attaching them to the other holes in the disc. Each disc holds a total of four balloons.
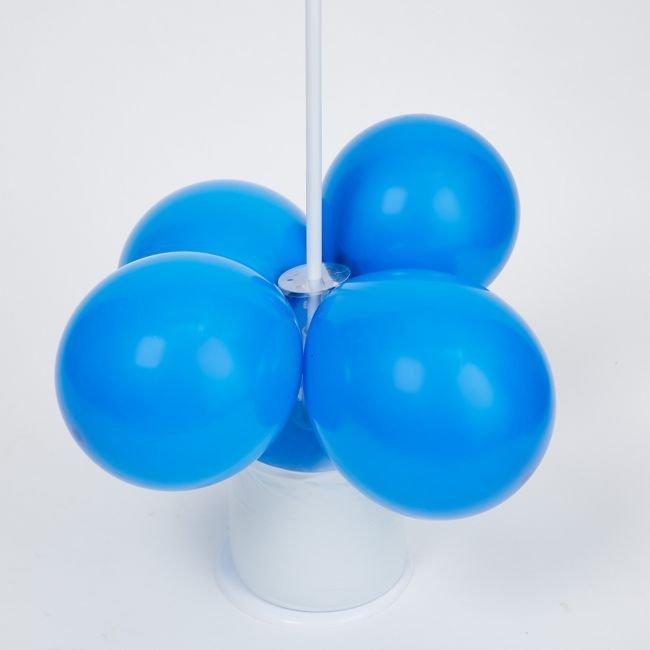
Step 6: Keep going!
Create another layer in the same color. Continue this pattern as you work your way up the column, with two layers of four balloons in each color.
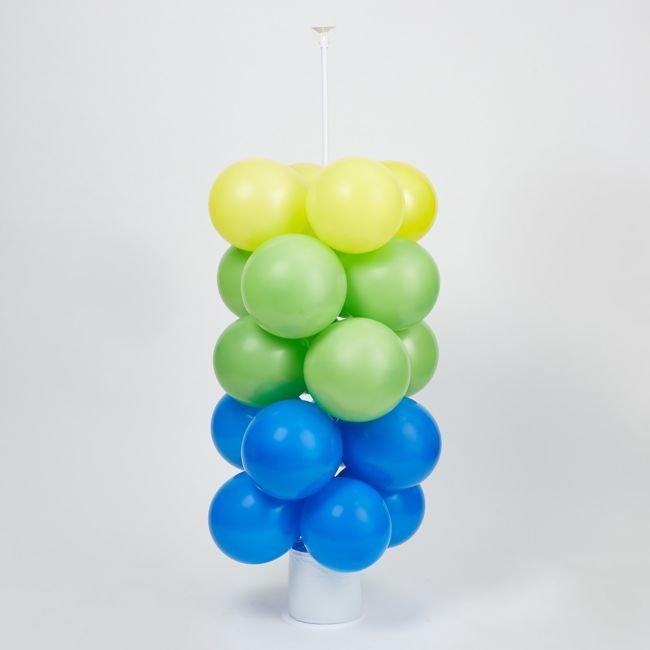
Step 7: The finishing touch
To top off your balloon column, fill either a 24” latex or large foil balloon with air. The plastic cup included in your kit will hold the large balloon upright, so you won’t need helium. Make sure to feed the end of the balloon through the cup before attaching it to the top of your column.

You’re all set to create your own show-stopping balloon column! Now it’s time to shop all balloon supplies, or check out more balloon ideas.

